
Anti-mould paint is one of the most searched-for answers to a mould problem, usually by someone who has cleaned a patch twice and wants it to stop coming back. It has a real role, but it works best when people understand what it is designed to do and, just as importantly, what it is not.
What ordinary emulsion does
Standard emulsion is a decorative finish. It is formulated for colour, coverage, opacity and durability under normal conditions. In a room prone to condensation it behaves as you would expect a decorative finish to behave: it gets damp, it may allow growth to establish on the surface, and in bad cases it can lift or fail.
Nothing about ordinary emulsion is designed to help in a mould-prone room. Applying it over an untreated patch usually means the patch reappears through the new paint.
What anti-mould paint is designed to do
Anti-mould paint is formulated for damp and condensation-prone rooms. In practice that means it is made to give a durable, washable finish that helps protect the painted surface against black mould growth in the kind of rooms where standard emulsion tends to struggle: bathrooms, kitchens, utility rooms and cold-wall bedrooms.
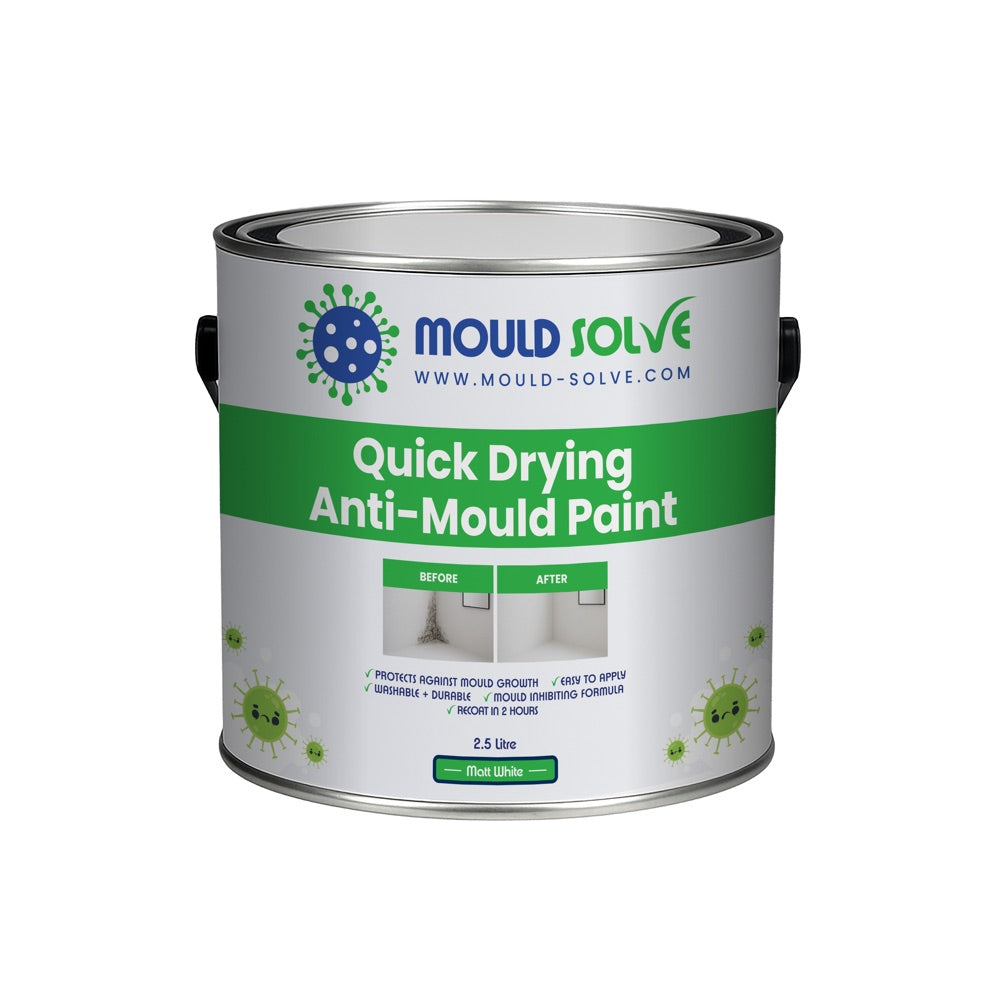
!Mould Solve Quick Drying Anti-Mould Paint 2.5L in matt white
The Mould Solve range is a quick-drying matt white water-based acrylic with an anti-condensation formula, washable and durable once dry, applied by brush or roller. You can see the sizes in Anti-Mould Paint.
The key point is that it is a protective finish. It is part of the protect stage, not the remove stage.
What it cannot do
This is where most disappointment comes from, so it is worth being direct.
- it does not remove existing mould
- it does not treat a surface that has not been cleaned and prepared
- it does not stop water coming through a wall
- it does not fix a leak, a roof defect or rising damp
- it does not replace ventilation, heating and moisture control
- it will not stick reliably to a damp or contaminated surface
Painting over a live mould patch hides it briefly and usually fails, as covered in can you paint over mould?
Where it fits in the sequence
The order that works is always the same.
- Find the cause. Condensation, a leak, or a building defect. Treating the wrong thing wastes the work.
- Remove the visible growth with a product intended for the surface, from Mould Removal Sprays.
- Prepare and dry the surface fully. Paint applied over a damp wall will not perform.
- Prime or prepare where needed, including blocking stains that would show through, using Mould Prevention & Primers.
- Apply the protective finish from Anti-Mould Paint.
- Manage conditions so the room stops producing the same problem.
Skipping straight to step five is the single most common mistake. There is a full pre-decorating list in mould treatment checklist before painting and more on preparation in what to use before anti-mould paint.
When it is worth using
Anti-mould paint makes most sense in rooms where the conditions will always be more demanding than average:
- bathrooms and shower rooms
- kitchens and utility rooms
- bedrooms with cold external walls that have had condensation problems
- ceilings above baths and showers
- window reveals in condensation-prone rooms
- rental properties being turned around between tenancies
In a dry, well-ventilated internal room with no history of problems, ordinary emulsion is usually fine.
When it is not the answer
- the wall is actively damp rather than just cold
- the problem follows heavy rain rather than cold nights
- there is a tidemark, spreading stain, or damp at low level
- paint has already failed repeatedly in the same spot
- the growth returns within weeks of a thorough treatment
Those point to a moisture source that painting will not touch. See when surface treatment is not enough.
Practical application points
- make sure the surface is clean, dry and free of visible mould before painting
- do not paint over damp plaster, and allow properly for drying time
- deal with water stains before painting, or they can show through
- ventilate while working and while drying
- allow the finish to dry fully before it is washed or exposed to heavy steam
- keep a small amount back for touching up reveals and edges
There is more on stains specifically in how to treat damp marks and water stains before decorating.
FAQs
Can I just apply anti-mould paint over the black spots?
No. Remove and treat the growth first, then let the surface dry, then paint. Painting over it will usually fail.
Is anti-mould paint only available in white?
The Mould Solve range is a matt white finish. Sizes run from 0.5L up to 5L, so you can match the size to the job.
Does it work on ceilings?
Yes, and bathroom ceilings are one of the most common places it is used, since they sit directly above the steam.
How long will it last?
That depends heavily on the room conditions. A protective finish in a well-ventilated room performs very differently from the same finish in a room with an ongoing moisture problem, which is why the ventilation and heating side matters as much as the paint.

